Tuesday 31 January 2012

Editing Colour

When we first produced our music video we asked for some people to watch it to see what they thought before we released our final video. The consensus was that the colour of the video was very bright which made it hard to see some details of the video. Realising this we researched on you tube how to edit colours on final cut; once we found out how to do this we managed to change the colouring of the images which made them look much more proffessional and gave an ehanced viewing experience. We changed the saturations and vibrance of these images to create what you can see in our music video today.

However we did need to be careful as to not edit the image too much other wise the colouring went the opposite way and ended up too bright. With time and effort we managed to avoid this and create a much improved colour for our images. Due to the camera it did pick up lighting really easily and so some images were hard to try and reduce however we tried our best and believe what we have achieved is much improved to the images we had before.

Monday 30 January 2012

Rough Cut


Here is our rough cut video, this was our first time editing in Final Cut with film clips, it was much harder than editing the animatic because you could not extend the length of the clip to as long as you wanted only for how long you had filmed that scene for. Myself and Emily took on the roles of editing in the group and took to it well, we quickly understood how to render the video, how to cut it and add in effects such as cross dissolves and destaturing images.

Things I learnt about making this video?
For the final video there are changes that we would like to make, the lighting in the rough cut is different in some parts and so we are to re-film in similar lighting conditions to create continuity and the same house style.

Our camera did run out of battery when filming this was because we borrowed the camera and were not given a charger for this, we began to film on another digital device but forgot all our video was filmed lanscape and unfortunately filmed portrait. After discovering this we did not have time to re-film it for the rough cut and so for our final piece we will re-film all the portrait clips and ensure we film them landscape.

The timings on our video completely changed compared to our animatic; none of us had ever filmed a music video and so when planning the animatic we did not give ourself enough time on some clips. For example for some clips we had planned a beat of four however it was impossible to put in a clip that we wanted for that long that made sense in the video.

What we hope to do...
- Refilm portrait bits
- Change the lighting
- Add overlays
- Ensure all timings are correct and beats match the tempo of the song.


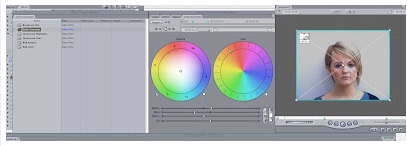
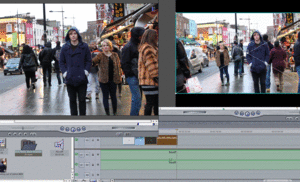
Here are some images of the editing process


gif maker

Monday 16 January 2012

Filming


On Wednesday the 4th of January Myself, Voke, Emily, Sophie and Jake all met up at London Victoria to start our filming. From here we got the tube to Camden. As soon as we arrived we started to shoot the first scene which was Jake coming out of Camden station. We used a tripod on the camera in order to keep filming steady however for scenes such as Jake walking (as shown in the animatic) it was hard to keep the camera still. Even though some bits were a bit jolty it seemed to work and added to the effects of our music video.


Here is an image of an underground alley which we found in Camden we played with the lighting here and managed to film some scenes. This is an ideal image for our CD cover because Bloc Party have tendency to use location shots as their cover art. Therefore it would make sense for us to also do this because we are using the bands song.

Here are some images of Bloc Party's previous cover art...


Below are some images of our main character Jake, these images show what he was wearing on the day of filming.

The picture above was editing in photoshop, this was shot under camden lock, the graffiti emphasizes the mood we are trying to create. In our planning we incorporated graffiti into it showing we had originally planned this from the beginning. Editing this image brought out the vibrancy of the graffiti which makes it stand out on the black background. Here you can also clearly see what our character is wearing, this images could be potentially used in our digipack.

Meeting up

In order for everyone to know when and where we were filming we created an email on facebook and sent it to the group along with our actor Jake.
This planning was very helpful as we all knew what time to get the train and what time we were going to meet and where. It was also made clear that Jake was told what to wear in order to fit in with our story board.

Risk Assessment

London can be a dangerous place, especially as we will have an expensive camera with us along with our own personal valuables. In order to be prepared for such events we made a risk assessment to assess what risks could occur so that we could be careful and aware when we went to Camden in London.

Here is a copy of our risk assessment...

We measured our risks from 1 - 5, 1 being low risk and 5 being high risk. As you can see things such as the camera being stolen is medium risk as this was very expensive.


Thursday 5 January 2012

Pictures from filming


This image was taken by Camden Lock, we found this location whilst


This is an image taken from google maps of Camden high street where we did some of our filming. The red circle indicated the beginning of our video and where we shot our first scene coming out of the station, the green circle indicates the next scene where Jake can be seen walking down the highstreet.